1. Enterprise Partner User Quickstart
Table of Contents
1.1. Introduction
This manual helps you to get started with the Cloud Service Portal© and provides you with useful tips and information. In addition, you will learn step by step how to create a client (customer), enter a user and create additional OpenStack projects. The Cloud Service Portal© is flexibly configurable per client. By setting the authorization parameters accordingly, you can determine which panels (e.g. OpenStack, Quota, USAGE dashboard, S3 Object Storage) a client can see and use.
1.2. Topologie Cloud Service Portal©
In the Cloud Service Portal© you manage your cloud services from a central location. Cloud services here mean clients (customers), OpenStack projects (accounts) and user management (IAM). Further services are, for example, an integrated S3 Management Panel, with which S3 buckets can be managed.
The scope of functions and the authorization are based on the following profiles.
- Provider (Verwaltet die Cloud-Services, die Enterprise Partner, Clients und User)
- Enterprise Partner (Verwaltet berechtigte Cloud-Services, Clients und User)
- Client (Manages authorized cloud services and users)
- User (A user has one of the above profiles with the appropriate permissions)
Individual Dashboard Management Profiles (see Create Enterprise Partner Profile) with individual permissions can be created and assigned to a user. Basically, a user only sees the services for which he is authorized.
Example: Click Organization Management in the navigation on the left,
- ein Provider hat “Enterprise Partners”, “Clients” und “Users” als Unter-Menüs,
- ein Enterprise Partner hat entsprechend “Clients” und “Users” zur Auswahl,
- a Client has “Users” as selection,
- a user without user administration rights does not even have “Organization Management” in the navigation.
1.3. Log in to the Cloud Service Portal©
For the registration you need an activated account, which includes the following information:
- Identity Provider - Das ist der Enterprise Partner Name (Realm)
- User Name / Email Address - With which you authenticate yourself
- Password - your initial user password, which you must change at the first login
The login process differs between a new user and an existing user. Please follow the appropriate steps:
1.3.1. Login New User
When a newly created user logs in for the first time, the following steps are usually necessary, depending on the policy:
- Klicken Sie bitte im Browser folgenden Link um die sich anzumelden.
SSC Cloud Service Portal© URL Address
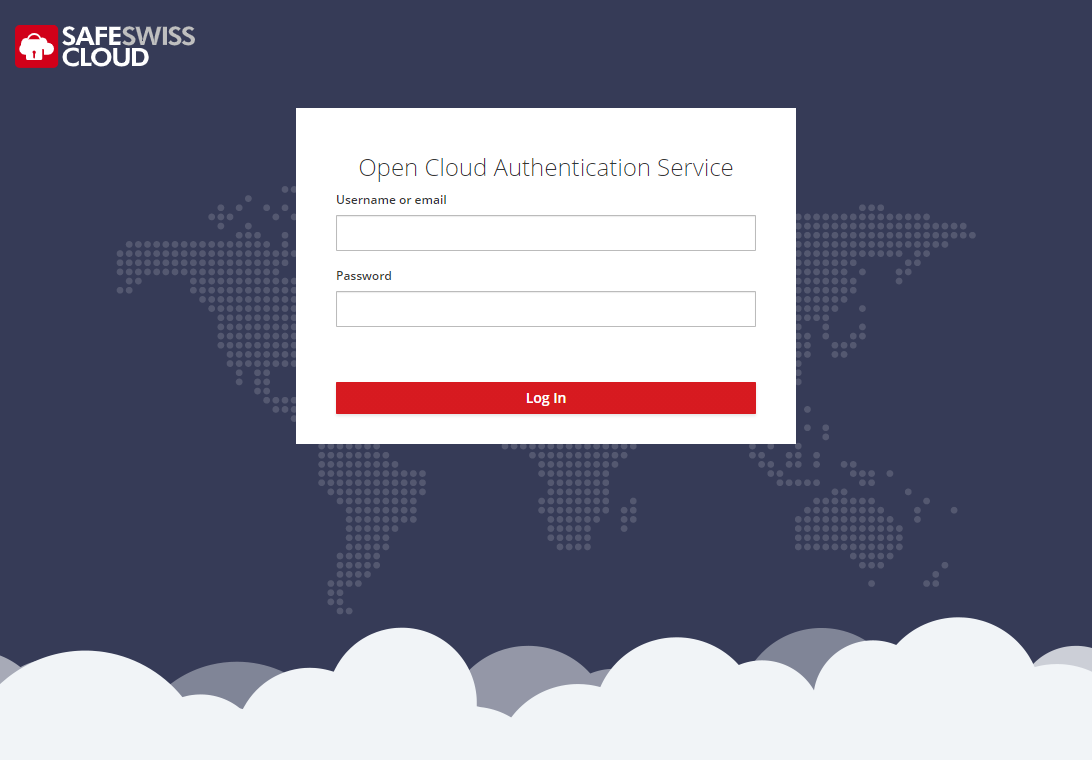
- Next, enter your username and password and click Log in
- You will then be prompted to change the password
- Finally, please configure the 2-factor authentication - For this you need an Authenticator application on your smart phone. Please follow the instructions on the screen.
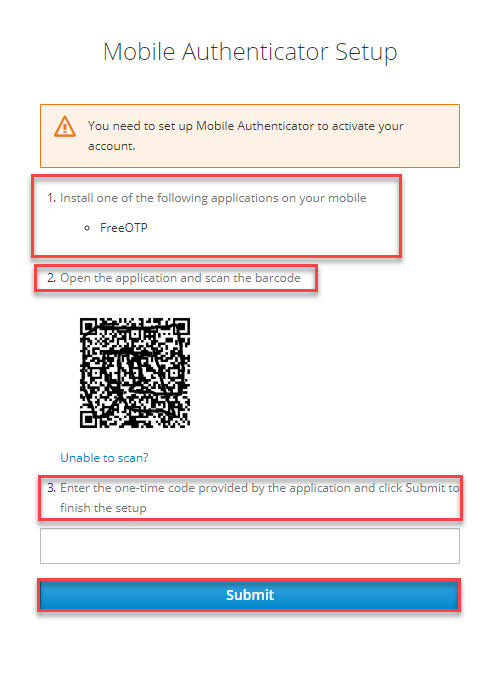
Scan the QR code with the Mobile Authenticator app, then enter the generated code.
If you log in successfully, you will then be on the overview page in the Cloud Service Portal©.
1.3.2. Login existing user
To login to the Cloud Service Portal© please proceed as follows:
- Open your browser and enter the Cloud Service Portal© address you received with your documents or click on the link below.
- You will now be automatically redirected to the Authentication-LogIn Mask of the Identity- and Access Management System.
- Please enter your user name or the registered email address and your password here.
- Then click on Log in
Cloud Service Portal©-Adresse: SSC-Cloud Service Portal© URL-Adresse
Attention
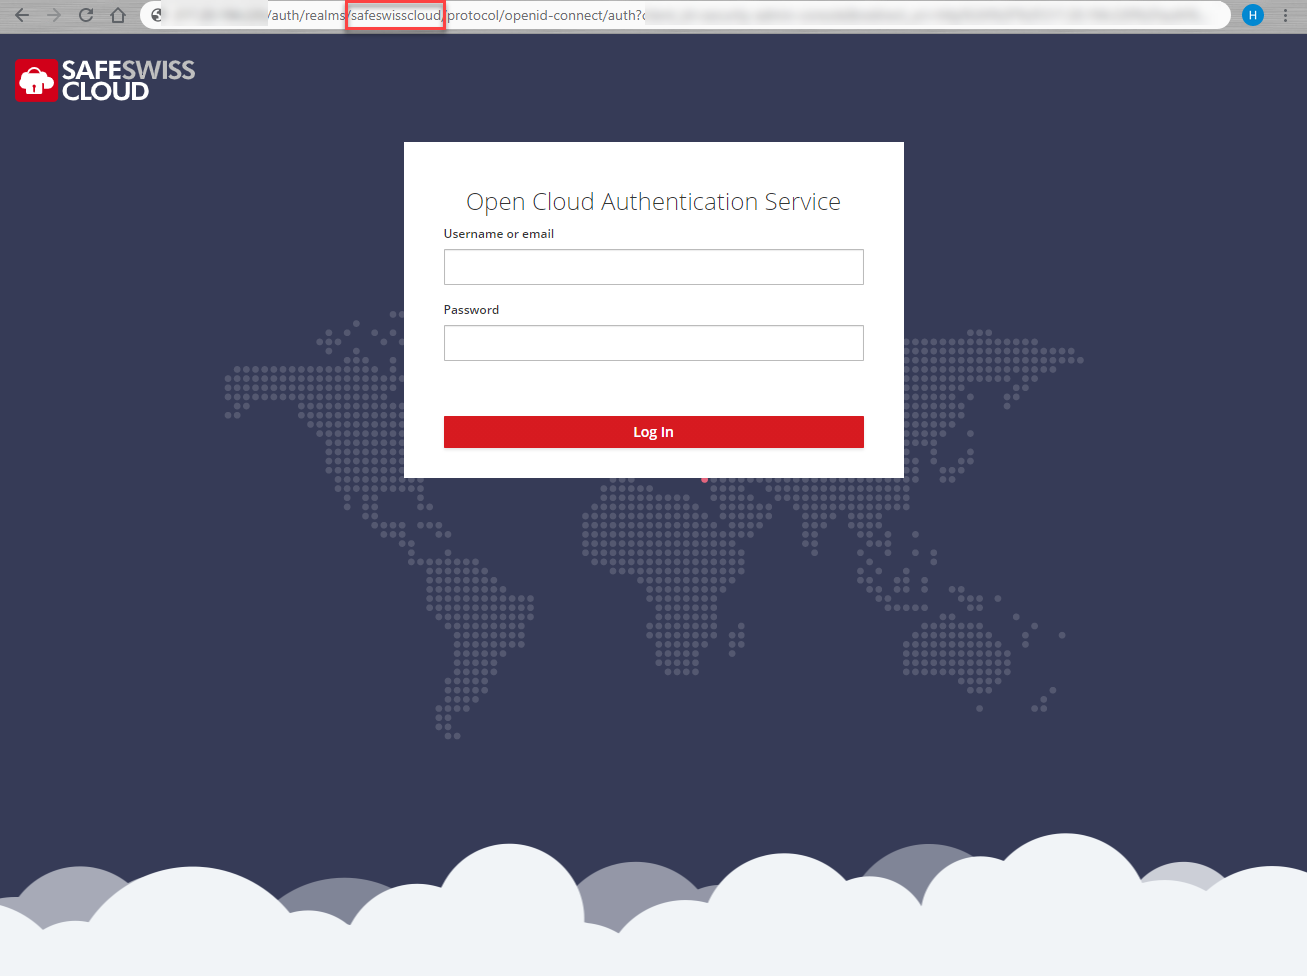
To prevent pishing attempts, please check the URL of the login window. If the URL is correct, you will see the name of your Identity Provider and the DOMAIN .ewcs.ch after realms/.
Note
Please refer to the Keyword policy.
- You will then find yourself in the main menu of the Cloud Service Portal©
1.4. Logout from the Cloud Service Portal©
Caution
As you are automatically authenticated for all your registered cloud services (SSO) by successfully logging in to the Cloud Service Portal©, it is important to log out again correctly.
To do this, please proceed as follows:
- Click on the small arrow in the upper right corner next to your user name
- Click there on Sign Out

1.5. Change Password
To reset the password for your user, please proceed as follows:
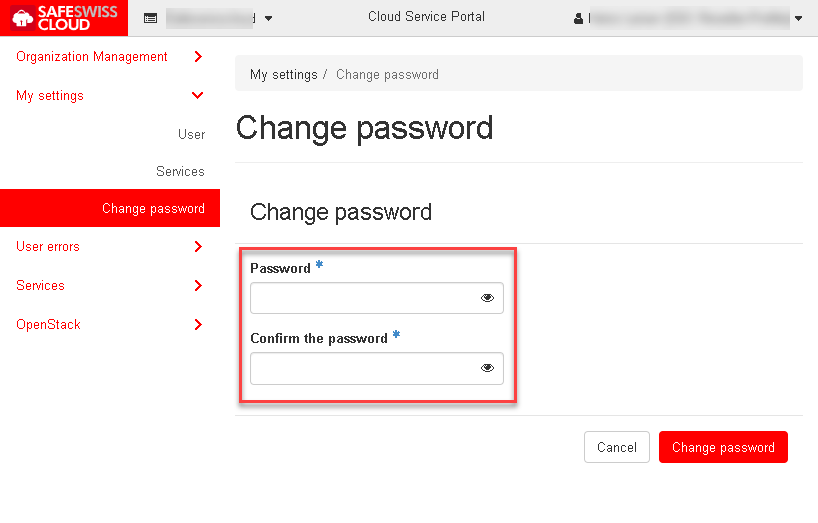
- Navigate to My Settings >> Change password on the left and enter the new password in the two fields.
- Confirm your entry with the Change password button.
Note
Please refer to the Keyword policy.
- A confirmation message appears.
1.6. Password Policies Cloud User Accounts
The password for the cloud user accounts must at least meet the following conditions:
| Condition | Anz |
|---|---|
| Password length (min.) | 12 |
| Special characters | 1 |
| Numbers | 1 |
Note
To meet these criteria, the password does not necessarily have to consist of a cryptic string of characters. Tip: Think of a few words, which you can combine with hyphens and add a few numbers. Example: Ab-in-die-Cloud-2019 would meet the criteria.
The following table describes the password policy characters that can be applied to user accounts:
| Property | Requirements |
|---|---|
| Permitted characters |
|
| Prohibited characters |
|
1.7. Several sessions of the Cloud Service Portal©
If you want to log in to the Cloud Service Portal multiple times, you can do this either in different browsers (e.g. 1st session Chrome, 2nd session Firefox), or in a “new incognito Windows”.
Note
Multiple logins in the same browser are NOT supported and will result in an error message (e.g. Forbidden (403) CSRF verification failed. Request aborted)