Launch Instance
This page describes how to deploy one or more VM Instances using the Launch Instance Wizard in Horizon.
Prerequisites
- An SSH Key Pair (see SSH Key Pairs).
- A Router with a Network (see Setup Network).
- Optionally a Server Group for affinity/anti-affinity (see Server Groups).
Important
A VM can only be assigned to a Server Group during deployment! The Server Group must be created BEFORE deploying the VMs and selected during launch!
Start Wizard
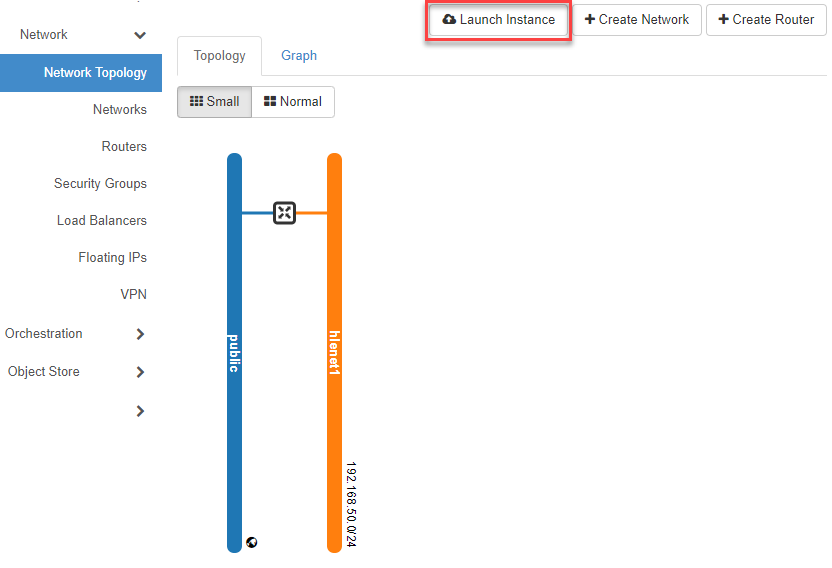
Switch to Network => Network Topology in the navigation, click the Launch Instance button, and enter the required information. Click Next to move to the next input mask. Once all "mandatory information" has been entered, the Launch Instance button becomes active (blue), and you can "launch" (deploy) the VM(s).
Details
-
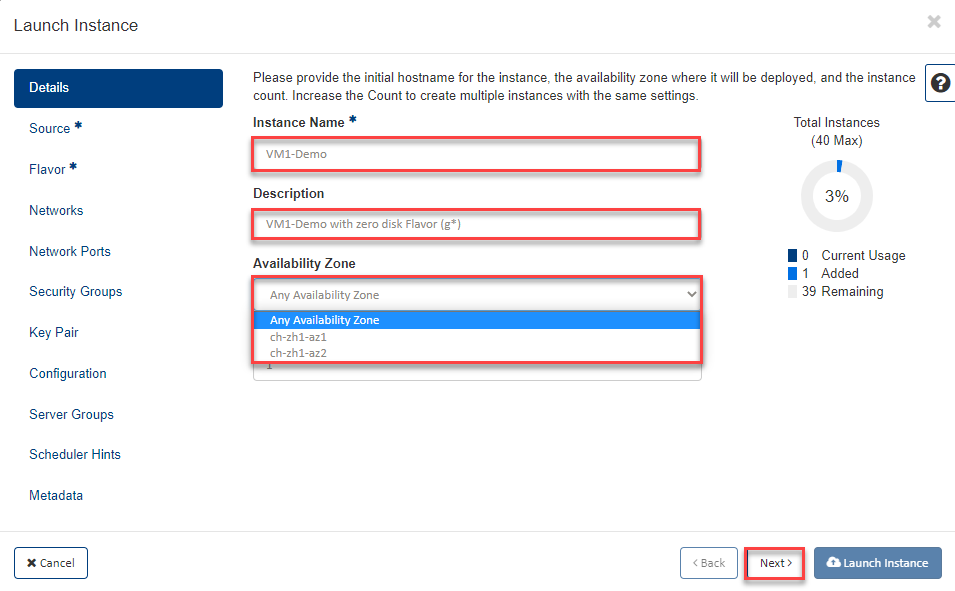
Now enter the missing information in the Details input mask:
- "Instance Name" - the name of the instance and optionally a description in the "Description" field.
- "Availability Zone" - select where the instance should be deployed.
- "Count" - number of instances to be deployed with the same settings.
- now click Next.
Tip
By default, VMs are deployed in any AZ of this region. If you want to deploy the VM in a specific AZ, please select the corresponding Availability Zone. The VM cannot be moved to another AZ later!
Note
OpenStack offers multiple options for choosing the Boot Source, which must be considered in the Flavor step when selecting the Flavor type. See Images — Boot Source Options for the compatibility table.
Source
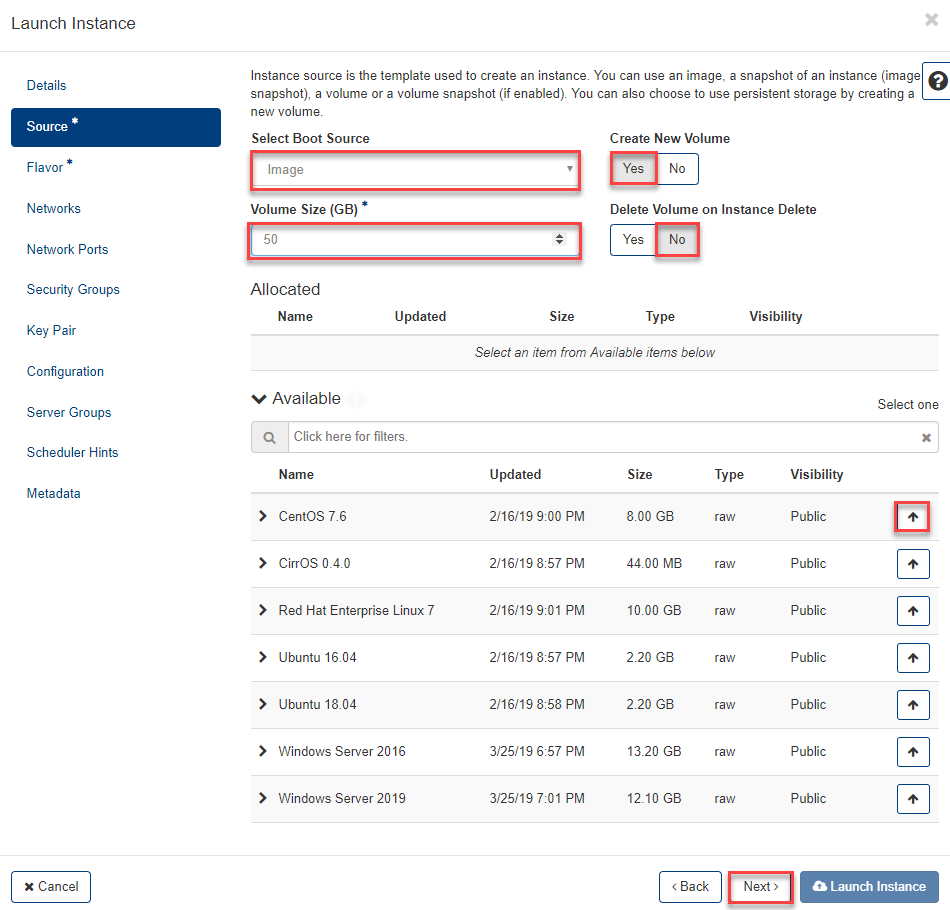
In the following example, a "Zero-Disk" Flavor is used, and a Volume is created.
Please select the image with the corresponding operating system.
-
To do this, enter the missing information in the Source input mask:
- "Select Boot Source": "Image"
- "Create New Volume": "Yes"
- "Volume Size GB": Please enter the desired size for your Root Volume.
- "Delete Volume on Instance Delete": "No" Important1.
- Select the desired "Image" from the list using the arrow.
- now click Next.
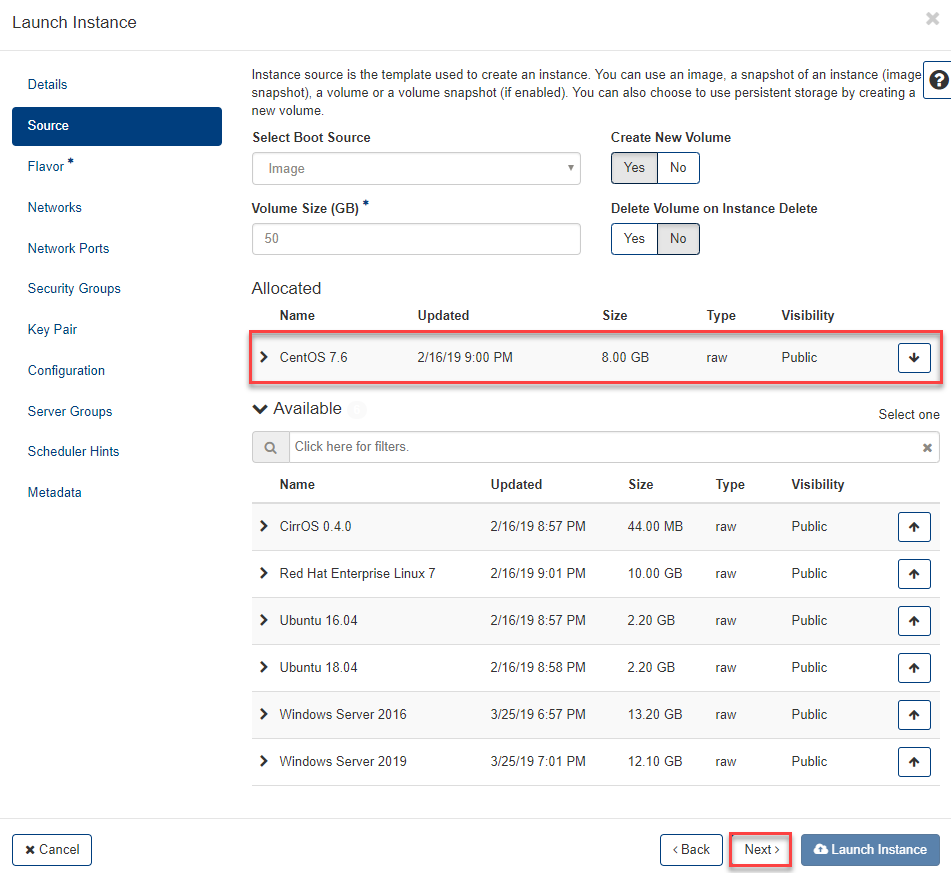
The selected image is displayed.
Flavor
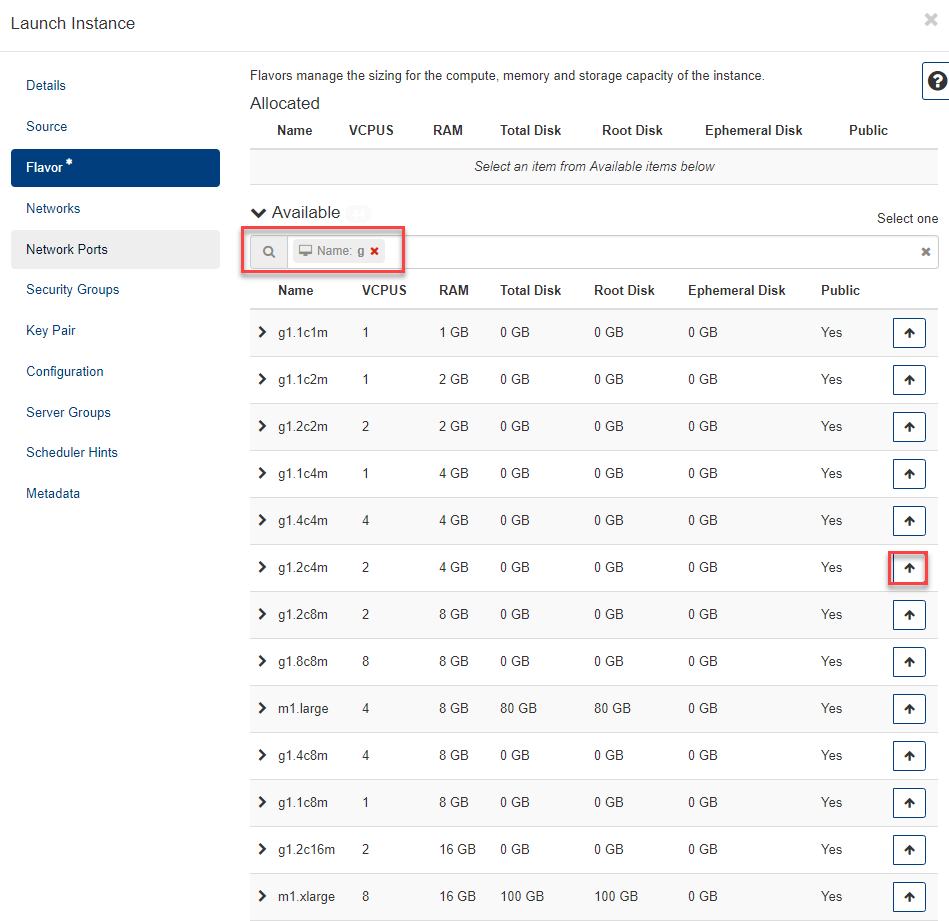
Next, in the Flavor input mask, select the appropriate (Zero-Disk) configuration (vCPU, RAM) for your VM by choosing a Flavor:
-
To make the list clearer, you can use the filter.
-
To select, click the up arrow on the right of the g1.2c4m row, for example.
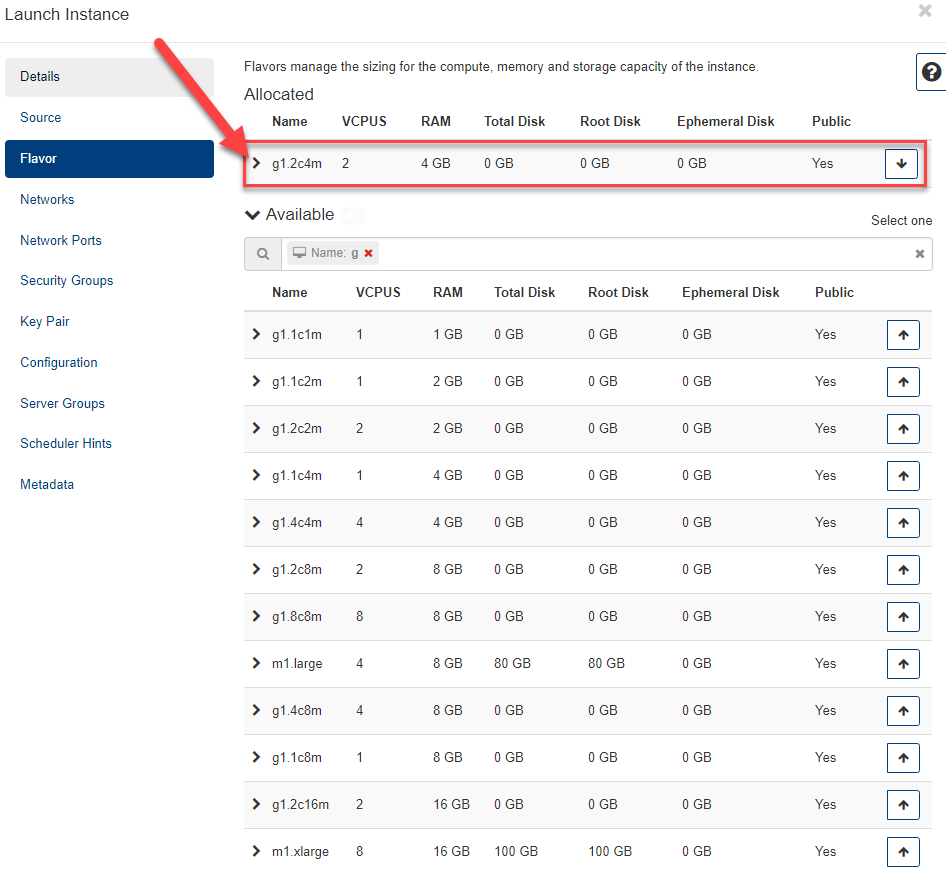
The selected Flavor appears at the top in the Allocated section. With the down arrow, you could undo the selection there and choose a different Flavor.
-
By selecting the Flavor, all necessary information for deploying the VM is already provided, and you can click Launch Instance at the bottom of the window to complete the process.
-
If you optionally want to make further settings, such as creating or selecting an SSH Key Pair, click directly on this item in the navigation, or click Next until you reach the desired input mask.
Note
Behind the Details arrow, you will find a lot of information about the respective Flavor, such as impacts on your Quota Limit, Disk QoS, or VIF QoS.
Networks
-
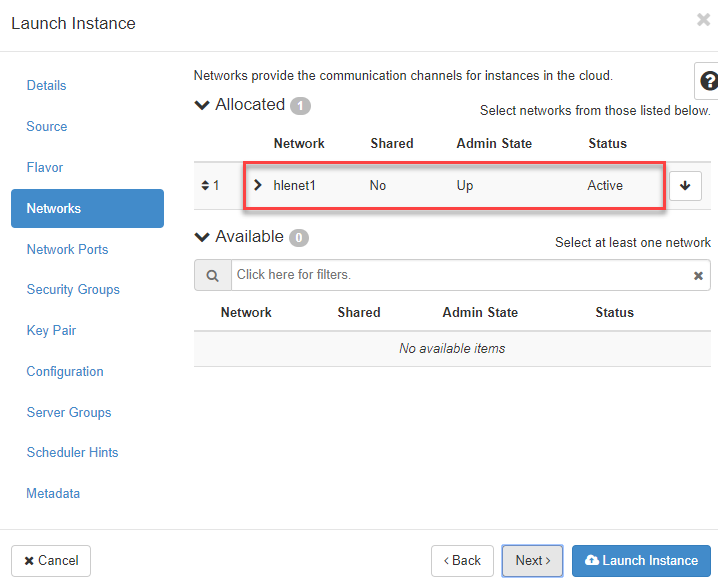
If, as recommended, you have already created a network, it will be automatically selected here (Allocated). If you have multiple networks, please select the network into which your VM should be deployed.
- now click Next.
Network Ports
-
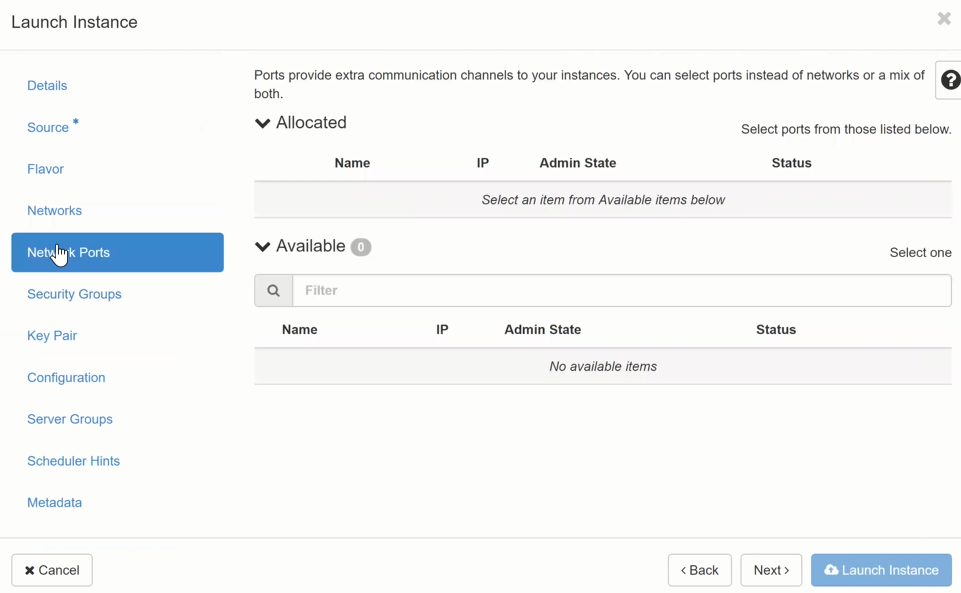
Optionally, if previously created, you can connect your VM with ports here.
- now click Next.
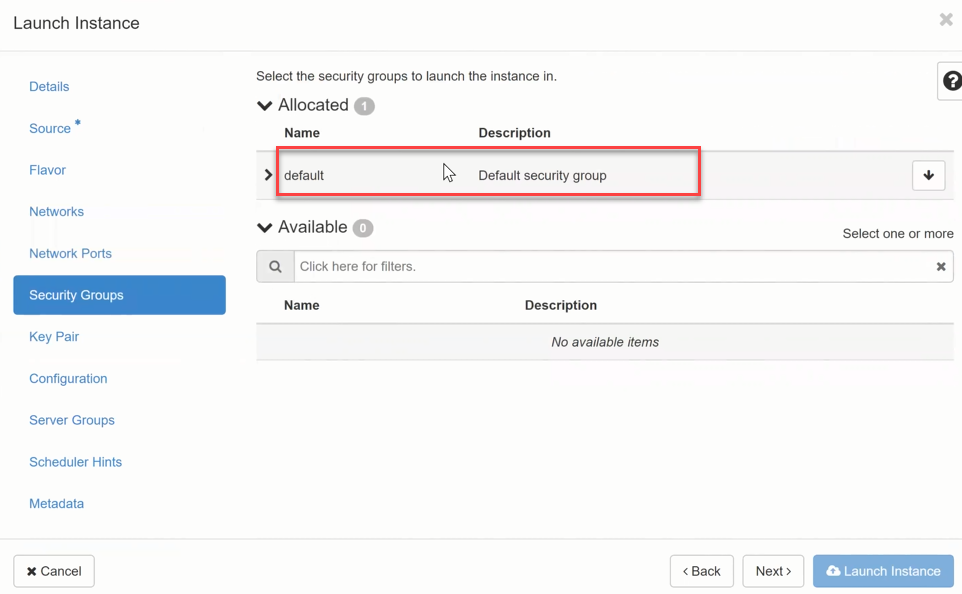
Security Groups
-
By default, your VM is assigned to the "Default Security Group". Optionally, if previously created, you can assign your VM to another Security Group here. You can change the Security Group later as well.
- now click Next.
Warning
Windows License KMS activation Ports - in the OpenStack standard Security Group Default Security Group, the Egress port to the KMS Licensing Server is open so that Windows license activation works! If you use your own Security Groups and Windows Server, ensure that Egress to oskms.ewcs.ch 217.20.195.145/32 Port 1688 is allowed.
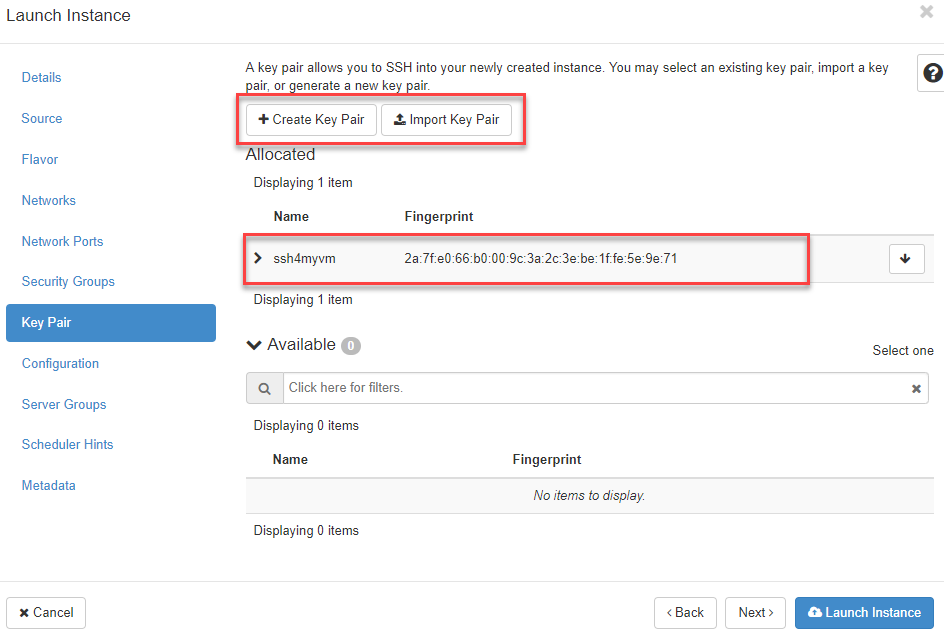
Key Pair
-
If you have previously created an ssh Key Pair, you can select it here, import an existing Key Pair, or create a new one. (see SSH Key Pairs)
- now click Next.
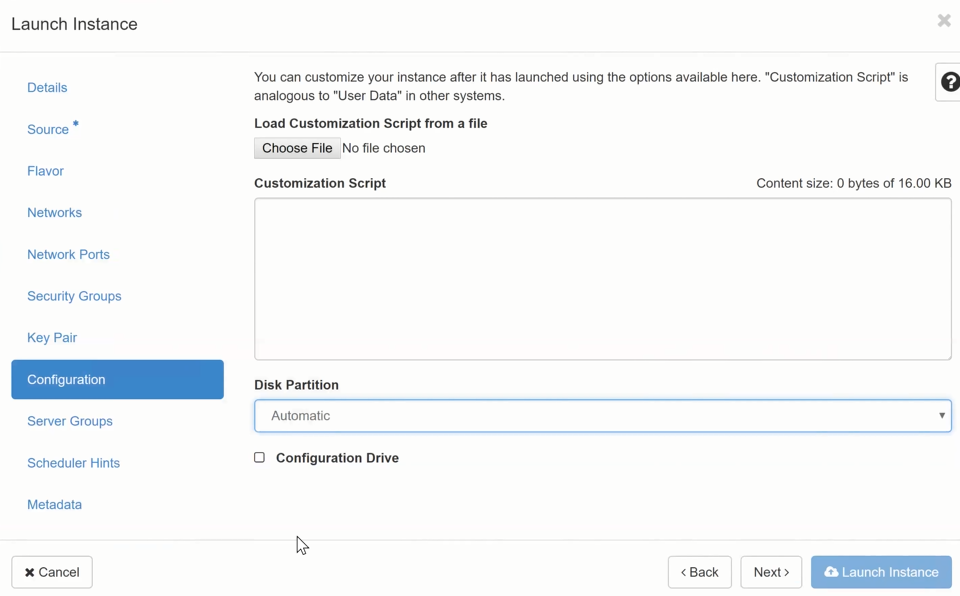
Configuration
-
Optionally, you could store configurations here that should be executed after your VM starts. This requires a deep understanding of the system, which is not covered here.
- now click Next.
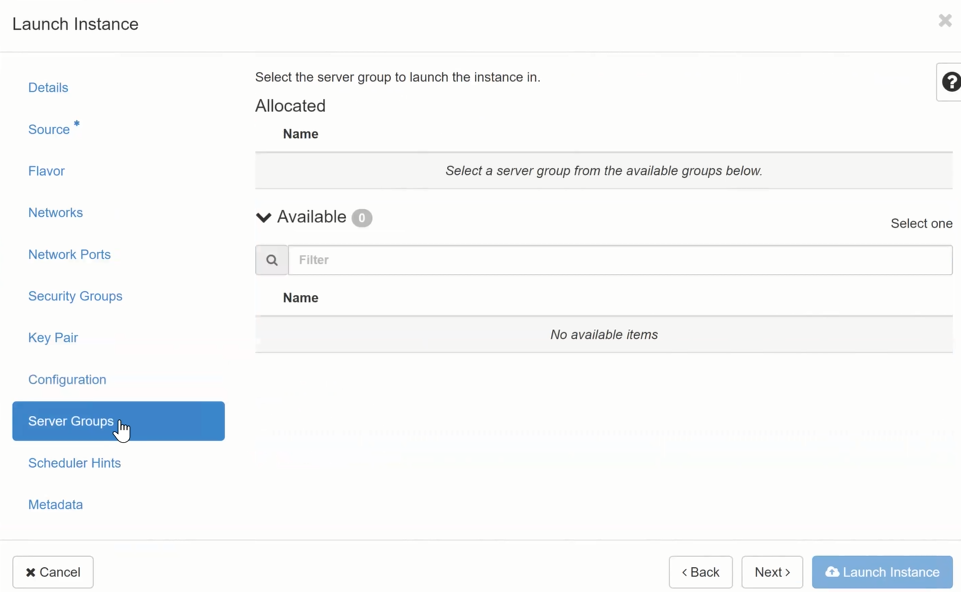
Server Groups
-
Optionally, you could assign your VM to a previously created "Server Group" here, which can be important for cluster solutions (see Server Groups).
- now click Next.
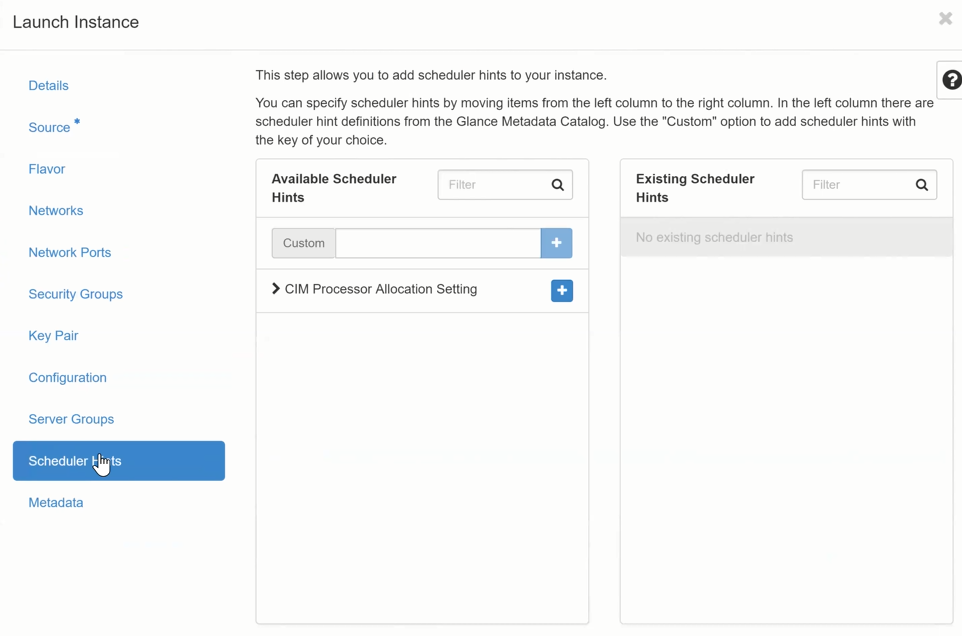
Scheduler Hints
-
With this option, additional "hints" (e.g., CPU type) could be provided to the "Scheduler process" that deploys the VM, which will be considered if possible. This requires a deep understanding of the system, which is not covered here.
- now click Next.
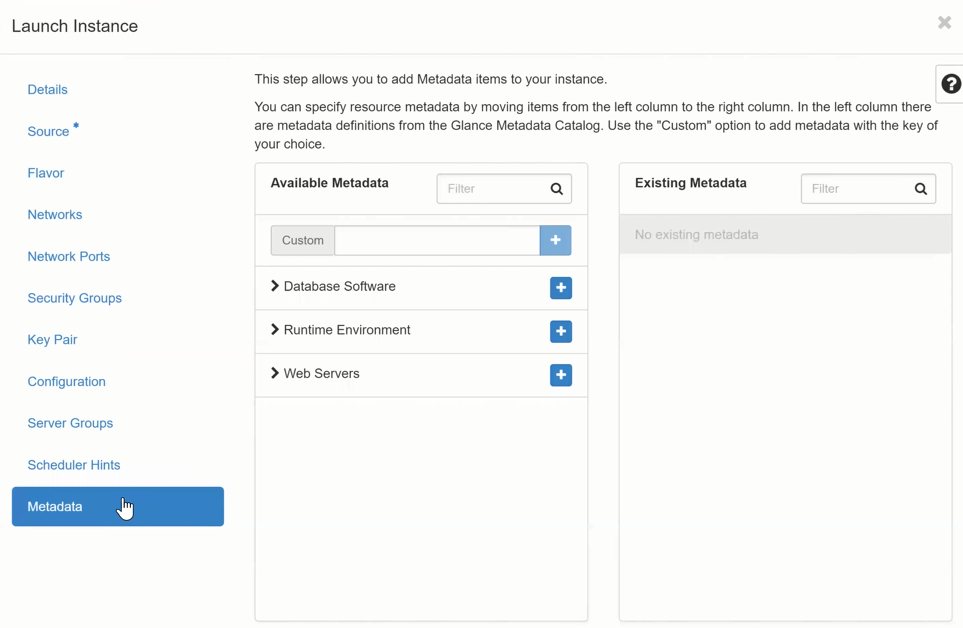
Metadata
-
With this option, "metadata" can be added to the VM instance. This requires a deep understanding of the system, which is not covered here.
- now click Next.
If you have entered all the required information, the Launch Instance button should now also be activated, and you can click it to deploy the VM. If information is still missing, it will be indicated by an *(asterisk) on the left in the corresponding section.
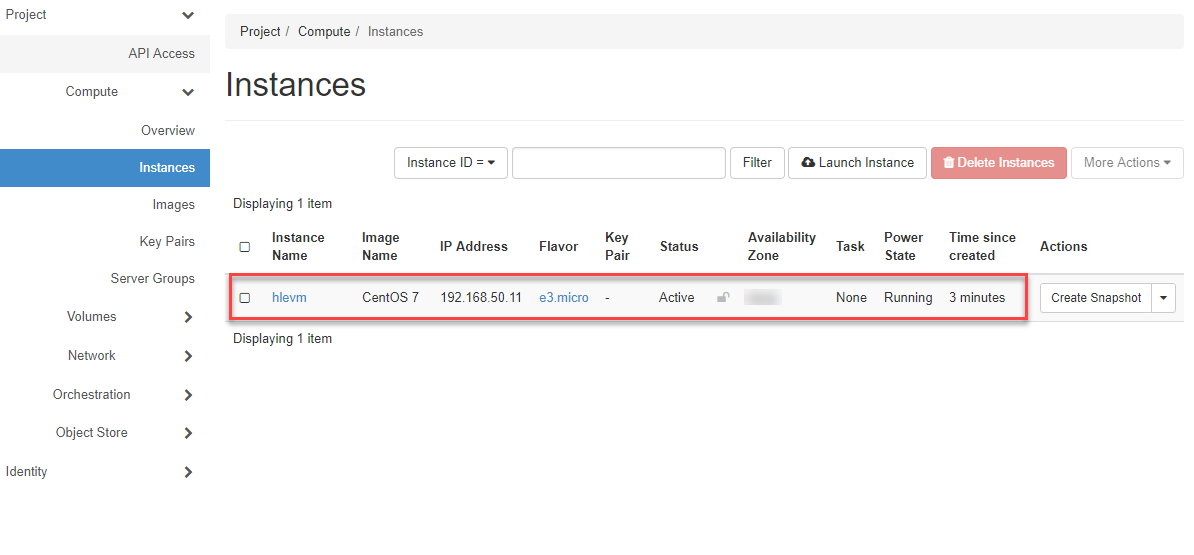
You can now see the status of your VM in the navigation under "Compute > Instances".
Footnotes
-
For example, if you need to temporarily delete the associated Instance for a re-sizing of the Root Volume, the Volume remains and you can use it again for launching a new Instance (VM) after the Volume Re-Size. Otherwise, the associated Root Volume will be deleted without warning when the Instance is deleted! ↩